The Paw-some Guide to Trimming Your Pet’s Nails

Trimming your pet’s nails can be a real nightmare. The mere sight of those tiny clippers can send your furry friend running for cover. But fear not, pet parents! We’ve got you covered with the best way to set your pet up for success and keep their nails healthy for a lifetime.
1. Start Early, Start Slow
The key to a stress-free nail-trimming experience is to start early and take it slow. Introduce your pet to the nail clippers gradually, allowing them to sniff, inspect, and even play with them. This will help them associate the nail clippers with positive experiences.
2. Treats and Praise
Positive reinforcement goes a long way when it comes to nail trimming. Reward your pet with treats and praise during and after each session. This will create a positive association and make them more comfortable with the process.
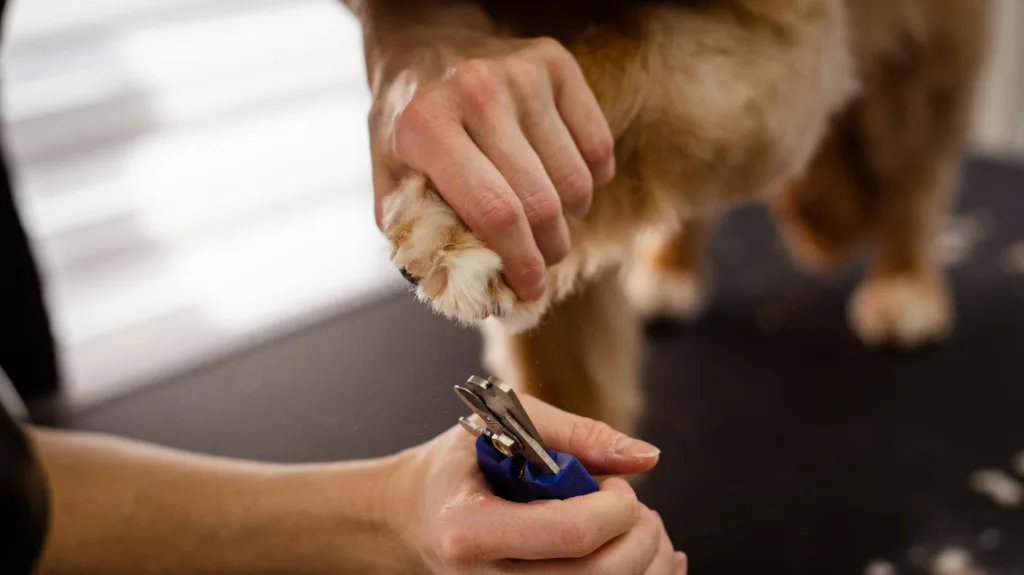
Building on the previous section, do not go in for immediate clipper-to-nail contact. Establish trust with your pet by first getting them to comfortably allow you to touch their leg, then their paw, and then lift the leg and hold the paw for up to three seconds. Praise your pet with ‘Yes’ after each successful stage and give them a treat. Each of these steps is important to give feedback. We like ‘Yes’, and then giving them a low-value treat during this phase of training. Kibble usually is fine here. This repetition will allow your pet to associate ‘Yes’ with a positive action.
Do this trust-building exercise with the clippers in the pet’s field of vision.
3. Introduce the Clippers
Now that we have established trust with your pet, we see how they react to the clippers. Show them the clippers and let them smell once again. Next, take their paw as we did in the previous step and hold and if they don’t pull away, give positive reinforcement and squeeze and release the clippers, away from their nails, and gauge their reaction. Where this is a more stressful endeavor for your pet, they may not respond to the kibble treat, so have a higher value treat available at this juncture. However, if they are generally ok with the sound, you can move on, but if not, continue in this pattern for a while until they are ok with the sound.
4. Take It One Paw at a Time
Now that you have built trust by holding their paw, introducing the clippers, and having a calm pet. Continue to use the ‘Yes’ prompt as the process progresses. If they pull away as you approach with the clippers, stop and go back to make sure they are ok with holding the paw and clicking the clippers step again.
If you had success trimming a nail, don’t overwhelm your pet by trying to trim all their nails at once. Start with one paw and gradually work your way through the rest. Remember to take breaks if needed and always prioritize your pet’s comfort.
5. Seek Professional Help
If you’re still struggling or your pet has particularly difficult nails, don’t hesitate to seek professional help. Veterinarians and groomers have the experience and expertise to trim your pet’s nails safely and efficiently.
You can always try these methods from creative pet owners like these! We like the peanut butter option.
Remember, patience and persistence are key when it comes to trimming your pet’s nails. With the right approach and a little bit of practice, you’ll soon be a pro at keeping those paws in tip-top shape!


Add comment
You must be logged in to post a comment.